Step-by-Step Guide to Front-End Project Configuration on Windows for Beginners

Install Node.js/NPM/GIT/VS CODE on Windows via Node.js Installer
For users who prefer a graphical user interface (GUI) for software installation, Node.js offers a downloadable installer on its official website. Follow these steps to install Node.js and NPM on Windows using the installer:
Step 1: Download Node.js Installer
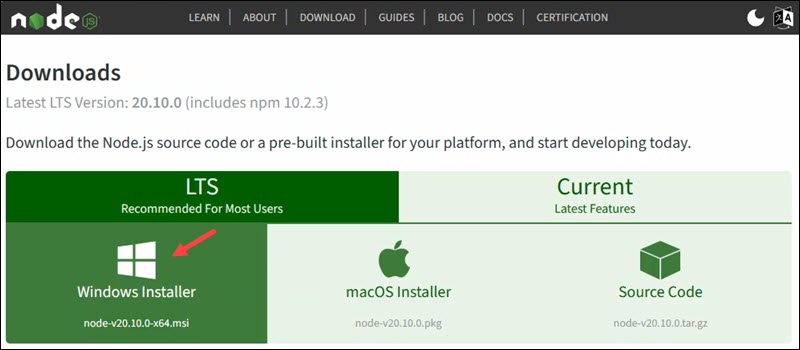
Open a web browser and navigate to the Node.js Downloads page.
Click the Windows Installer button to download the latest stable version with long-term support (LTS), which includes the NPM package manager.
By default, the file is saved in the Downloads folder.
You may choose other versions of Node.js and NPM based on your system requirements and use case. If you are new to Node.js or do not require a specific version, it is recommended to select the LTS version for its stability.
Step 2: Install Node.js and NPM
After downloading the installer, follow the steps below:
1. Double-click the downloaded file to launch the installer.
2. The Node.js Setup Wizard will appear. Click Next to proceed.
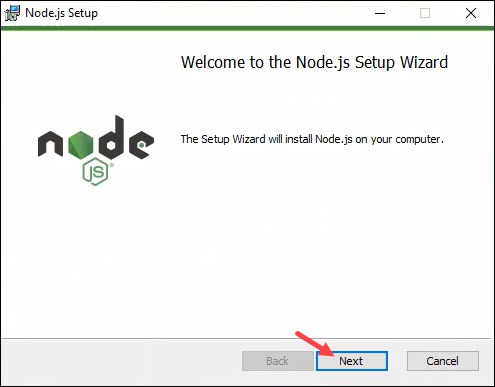
Click Next to proceed.
- Review the end-user license agreement, accept the terms, and click Next.
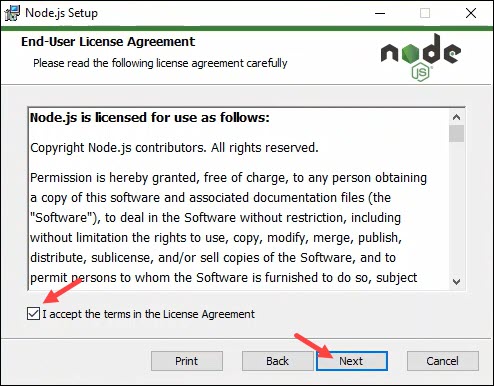
Click Next to continue.
5. The installer asks to choose the installation location.
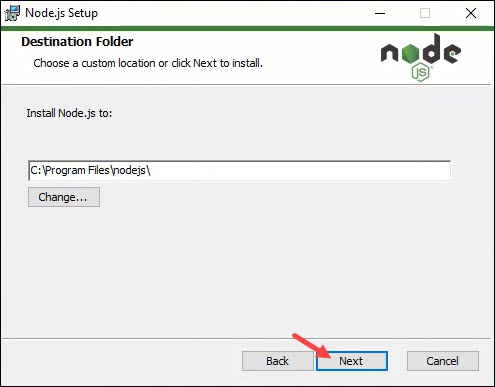
Leave the default location for a standard installation and click Next to proceed.
6. Select components to include or remove from the installation. The default options install Node.js, NPM, corepack, online documentation shortcuts, and add the programs to PATH.

Customize the setup or click Next to accept the default values.
7. The following section shows the total required space for the installation and the available space on disk.
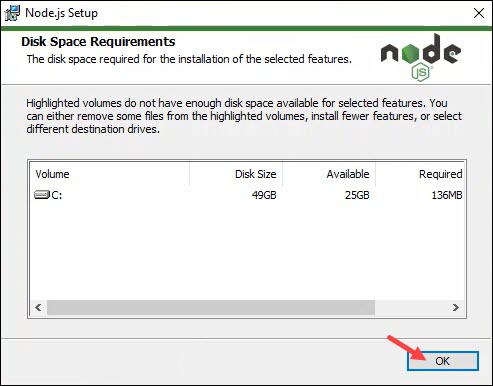
Click OK to proceed. Select a different disk or install fewer features if the installation does not allow proceeding.
8. Choose whether to install additional dependencies for compiling native modules. Some NPM modules compile from C/C++ and require additional tools to function correctly (Python, Visual Studio Build Tools, and Chocolatey).
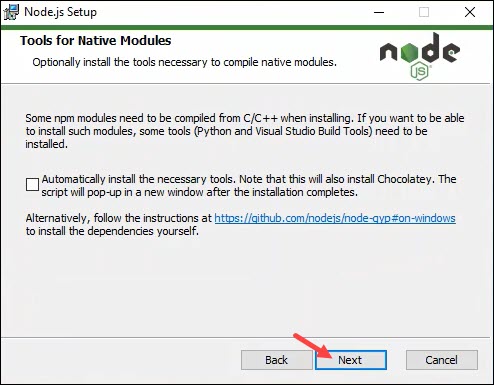
If you use such modules, select the checkbox and click Next. The selection of this option starts an installation script after the Node.js installation is complete.
For a simple installation, skip this step and click Next to proceed.
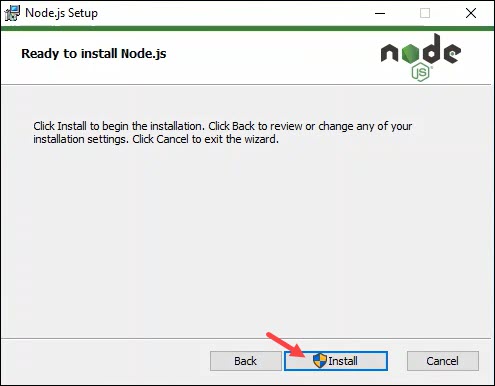
7. Click the Install button to start the installation.
8. The installer prompts for administrator confirmation to make changes to the device.
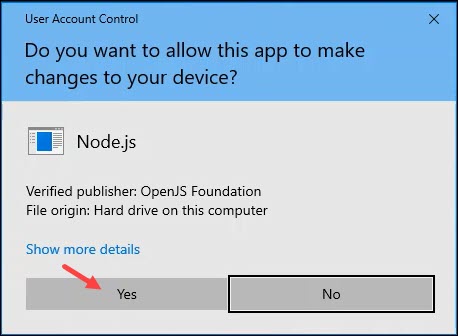
Enter the administrator password if prompted and click Yes to continue.
9. The installation takes some time. When it is complete, the final screen shows a success message.
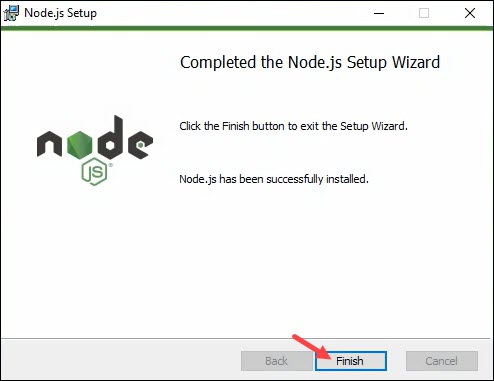
Click Finish to complete the installation and close the installer.
Step 3: Verify Installation
To verify Node.js installed successfully, run the following command in a command prompt or PowerShell:
node -v
The command shows the Node.js version installed on your system. Use the following command to check for NPM:
npm -v
Installation Git on Windows
There are two methods to install Git on Windows:
Using the Git Installer: This GUI installer wizard is available on the official Git website and allows for a step-by-step configuration of the Git installation.
Using Winget: A Linux-style CLI package manager for Windows that simplifies app installations but offers fewer configuration options.
Select your preferred installation method based on your desired level of control over the installation process and your preference for using the GUI or CLI.
Install Git on Windows via GUI
The GUI method involves downloading the Git installer wizard from the official website and configuring the installation in a traditional Windows step-by-step manner. This approach is ideal for users who prefer full control over the installation process and are not inclined to use the CLI.
Note: During installation, Git will prompt you to select a text editor. If you do not have one installed, it is advisable to do so beforehand. Our roundup of the best text editors for coding may assist in your decision.
Installation Steps:
1. Visit the official Git downloads page and click the download link for the latest Git version for Windows. Choose the 64-bit version unless you are using a 32-bit system.
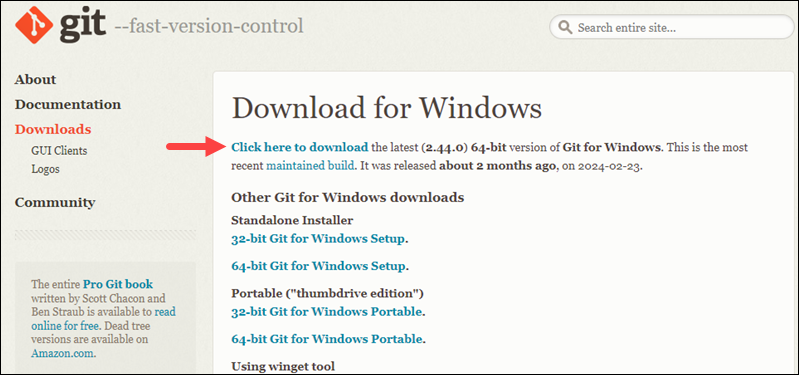
The link contains the latest 64-bit Git version for Windows. Alternatively, if you use a 32-bit system, download the 32-bit Git installer.
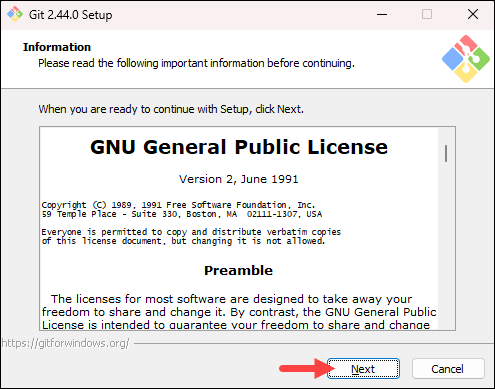
Double-click the downloaded file to extract and launch the installer.
Review the GNU General Public License and click Next when ready to proceed.
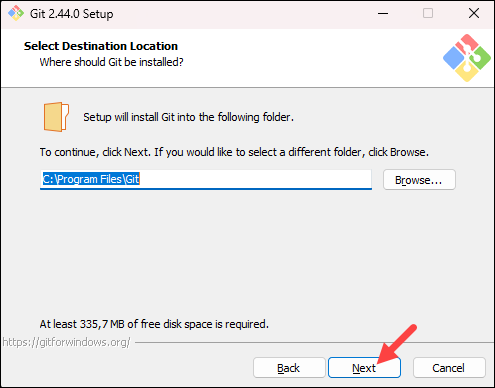
4. Choose the installation location. Use the default unless a change is necessary, then click Next.
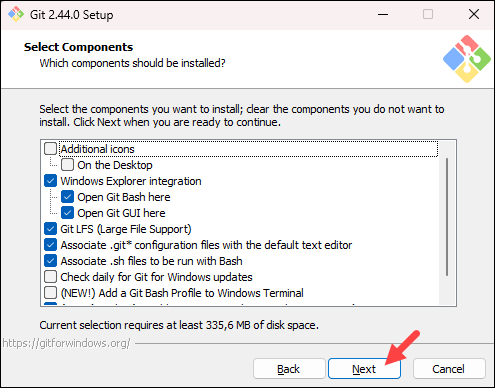
5. On the component selection screen, retain the defaults unless changes are needed, and click Next.
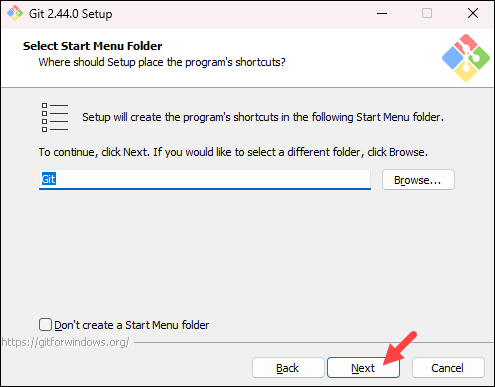
6. Accept the creation of a start menu folder by clicking Next.
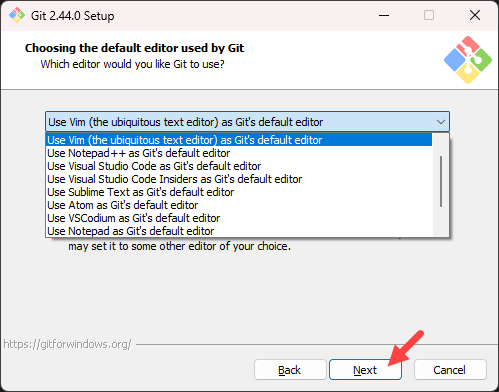
7. Select your preferred text editor for use with Git from the drop-down menu and click Next.
If you prefer to use a CLI text editor in Git Bash, select nano or Vim from the list.
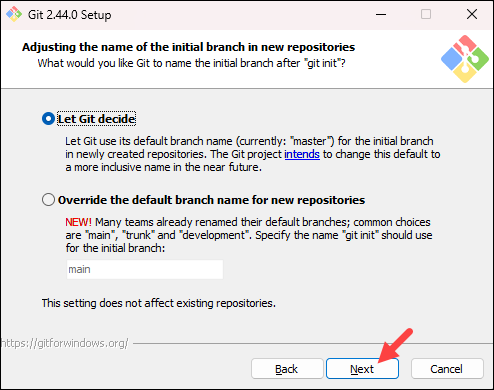
8. Choose a name for your initial branch. The default is master. Click Next unless a different name is required.
Note: If you are new to Git, check out our guides to Git branch name conventions and Git branching strategies.
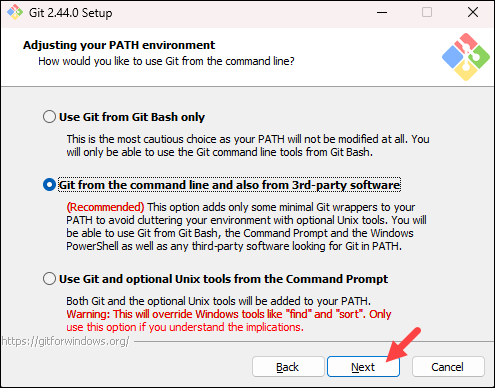
9. Adjust the PATH environment if necessary. The recommended selection is the middle option. Click Next.
10. The installer prompts you to select the SSH client for Git to use. Git already comes with its own SSH client, so if you don't need a specific one, leave the default option and click Next.
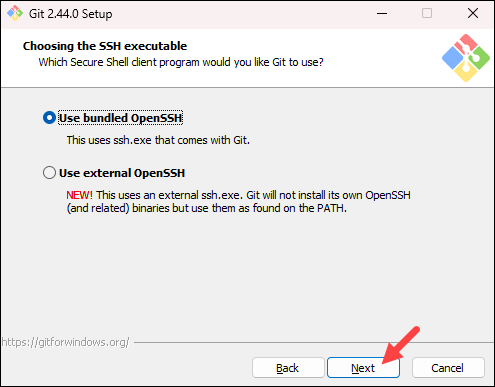
Note: Check out our comparison of SSH and HTTPS for Git and which one you should use.
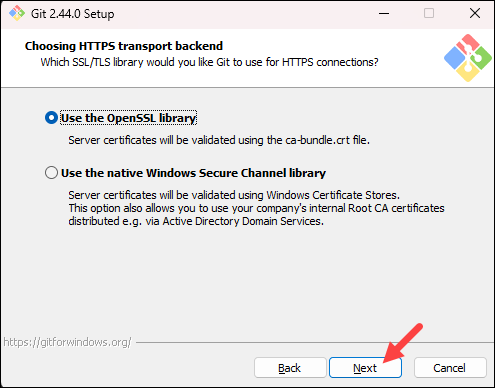
11. The next option relates to server certificates. The default option is recommended for most users. If you work in an Active Directory environment, you may need to switch to Windows Store certificates. Select your preferred option and click Next.
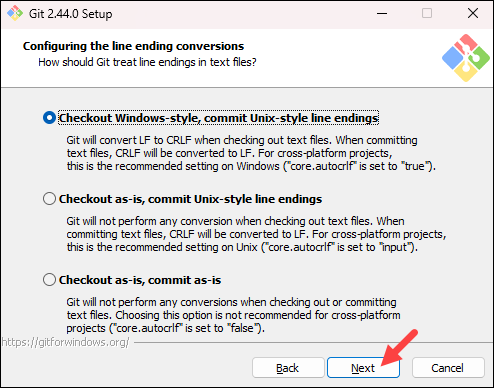
12. The following selection configures line-ending conversion, which relates to the way data is formatted. The default selection is recommended for Windows. Click Next to proceed.
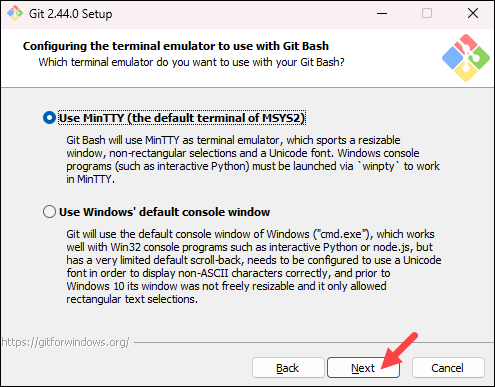
13. Choose the terminal emulator you want to use. The default MinTTY is recommended for its features. Click Next to continue.
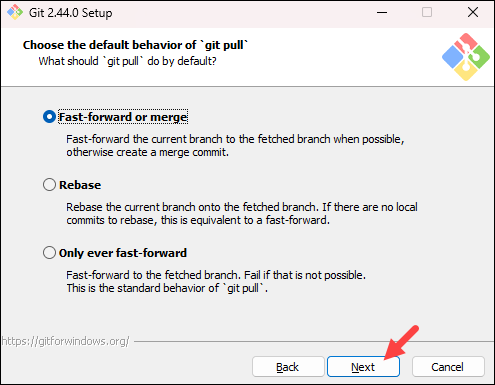
14. The next step allows you to choose what the git pull command will do. The default option is recommended unless you specifically need to change its behavior. Click Next to continue with the installation.
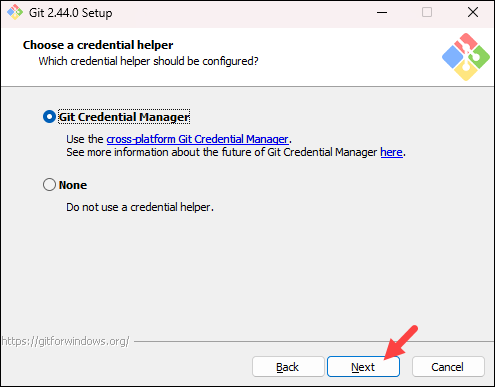
15. The next step is to choose which credential helper to use. Git uses credential helpers to fetch or save credentials. The default option is the most stable one. Select your preferred credential manager and click Next.
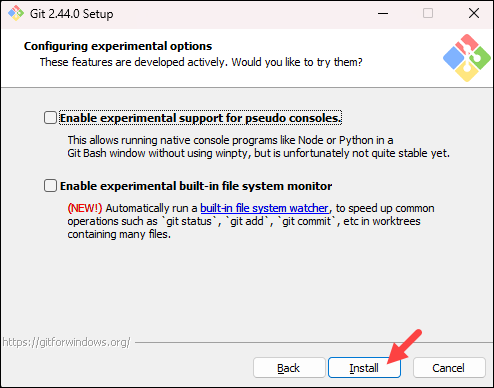
16. Enable extra options if needed, such as symbolic links. Keep file system caching checked. Click Next.

17. If offered, avoid installing experimental features for stability. Click Install.
18. Upon completion, you may view the Release Notes or launch Git Bash. Click Finish.
To verify the installation, run the following command
git --version
This command will display the installed Git version.
Installation of VS code
Navigate to Vs code
click on download


